I visit and watch many Young Learner lessons every year and I notice that many teachers like to enrich their classes by means of various pen-to-paper exercises, templates or colouring pages. I agree that it is important to develop pupils’ motors skills, familiarize them with the use of scissors, crayons etc. but at the same time I often notice that such activities are unfortunately just empty time fillers. I believe that the little time we have with our little students should be spent as efficiently as possible, by which I mean that we should develop their English in the first place. For this reason, myself I tend to avoid artistic projects in my YL classroom. This said, I believe I have found a few activity types that genuinely help to develop students SPEAKING skills.
COLOURING… AND TALKING!
A page of different objects (or one giant object) to colour is something I do not accept during an English lesson. Students’ pace at this age is very uneven. They also put very different amount of effort into it! Some will be happy with a few quick smears and others will use a set of different colours and be devastated when you rush them, as they feel they need to be extremely thorough. That is why I have a golden rule: any picture to colour that is bigger than a lemon won’t do!
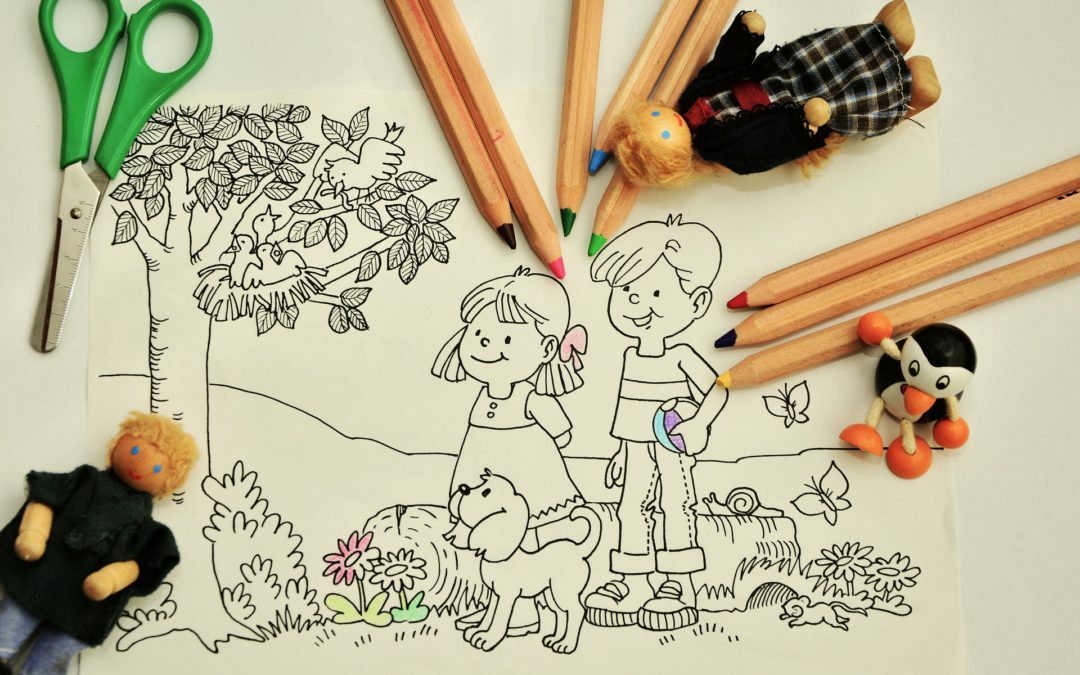
For example, this is the perfect size of a picture to colour, in my opinion:

Pure colouring does not work in my classroom, that is why I spice it up a bit by:
- opening a “crayon shop” and encouraging students to “buy” different crayons before they start colouring. And, of course, the more colours the better!
- asking a lot of questions about their pictures:
– Who is this? / Who are they?
– What are they wearing?
– Is she beautiful or ugly?
– What is she doing?
– What colour is her dress / hair / crown / hat?
3. encouraging students to say a few sentences about their picture, e.g.
– This is a blue dress.
– She has got a crown.
4. asking students to decide what colours they like, what is their favourite colour, etc.
5. encouraging students to talk about the pictures in pairs while I am monitoring and helping to find appropriate words, example dialogue:
– Who is it?
– It’s a princess.
– Is she pretty?
– Yes.
– Is she ugly?
– No.
This may sound ambitious or even too ambitious but if you perform all these activities whenever your students get a picture to colour, soon they will be able to do it.
PEN-TO-PAPER EXERCISES
Pen-to-paper exercises, such as those that you can see in YL course books or create yourself on your computer and print out, should in my view always stimulate my little students to communicate in English. In YL course books there are usually “listen and circle” or “look and match” type of exercises that of themselves may not meet this criterion. I’ve observed many lessons when such exercises where done and not even one English word got said throughout…
Below I would like to offer a modified pen-to-paper exercise type. In its first stage it teaches understanding spoken English; later on it becomes a great trigger for real communication. Your students won’t need any pencils or crayons to do it, just their heads, fingers and… mouth!
- Students get a worksheet with pictures of different robots placed on colourful bubbles:
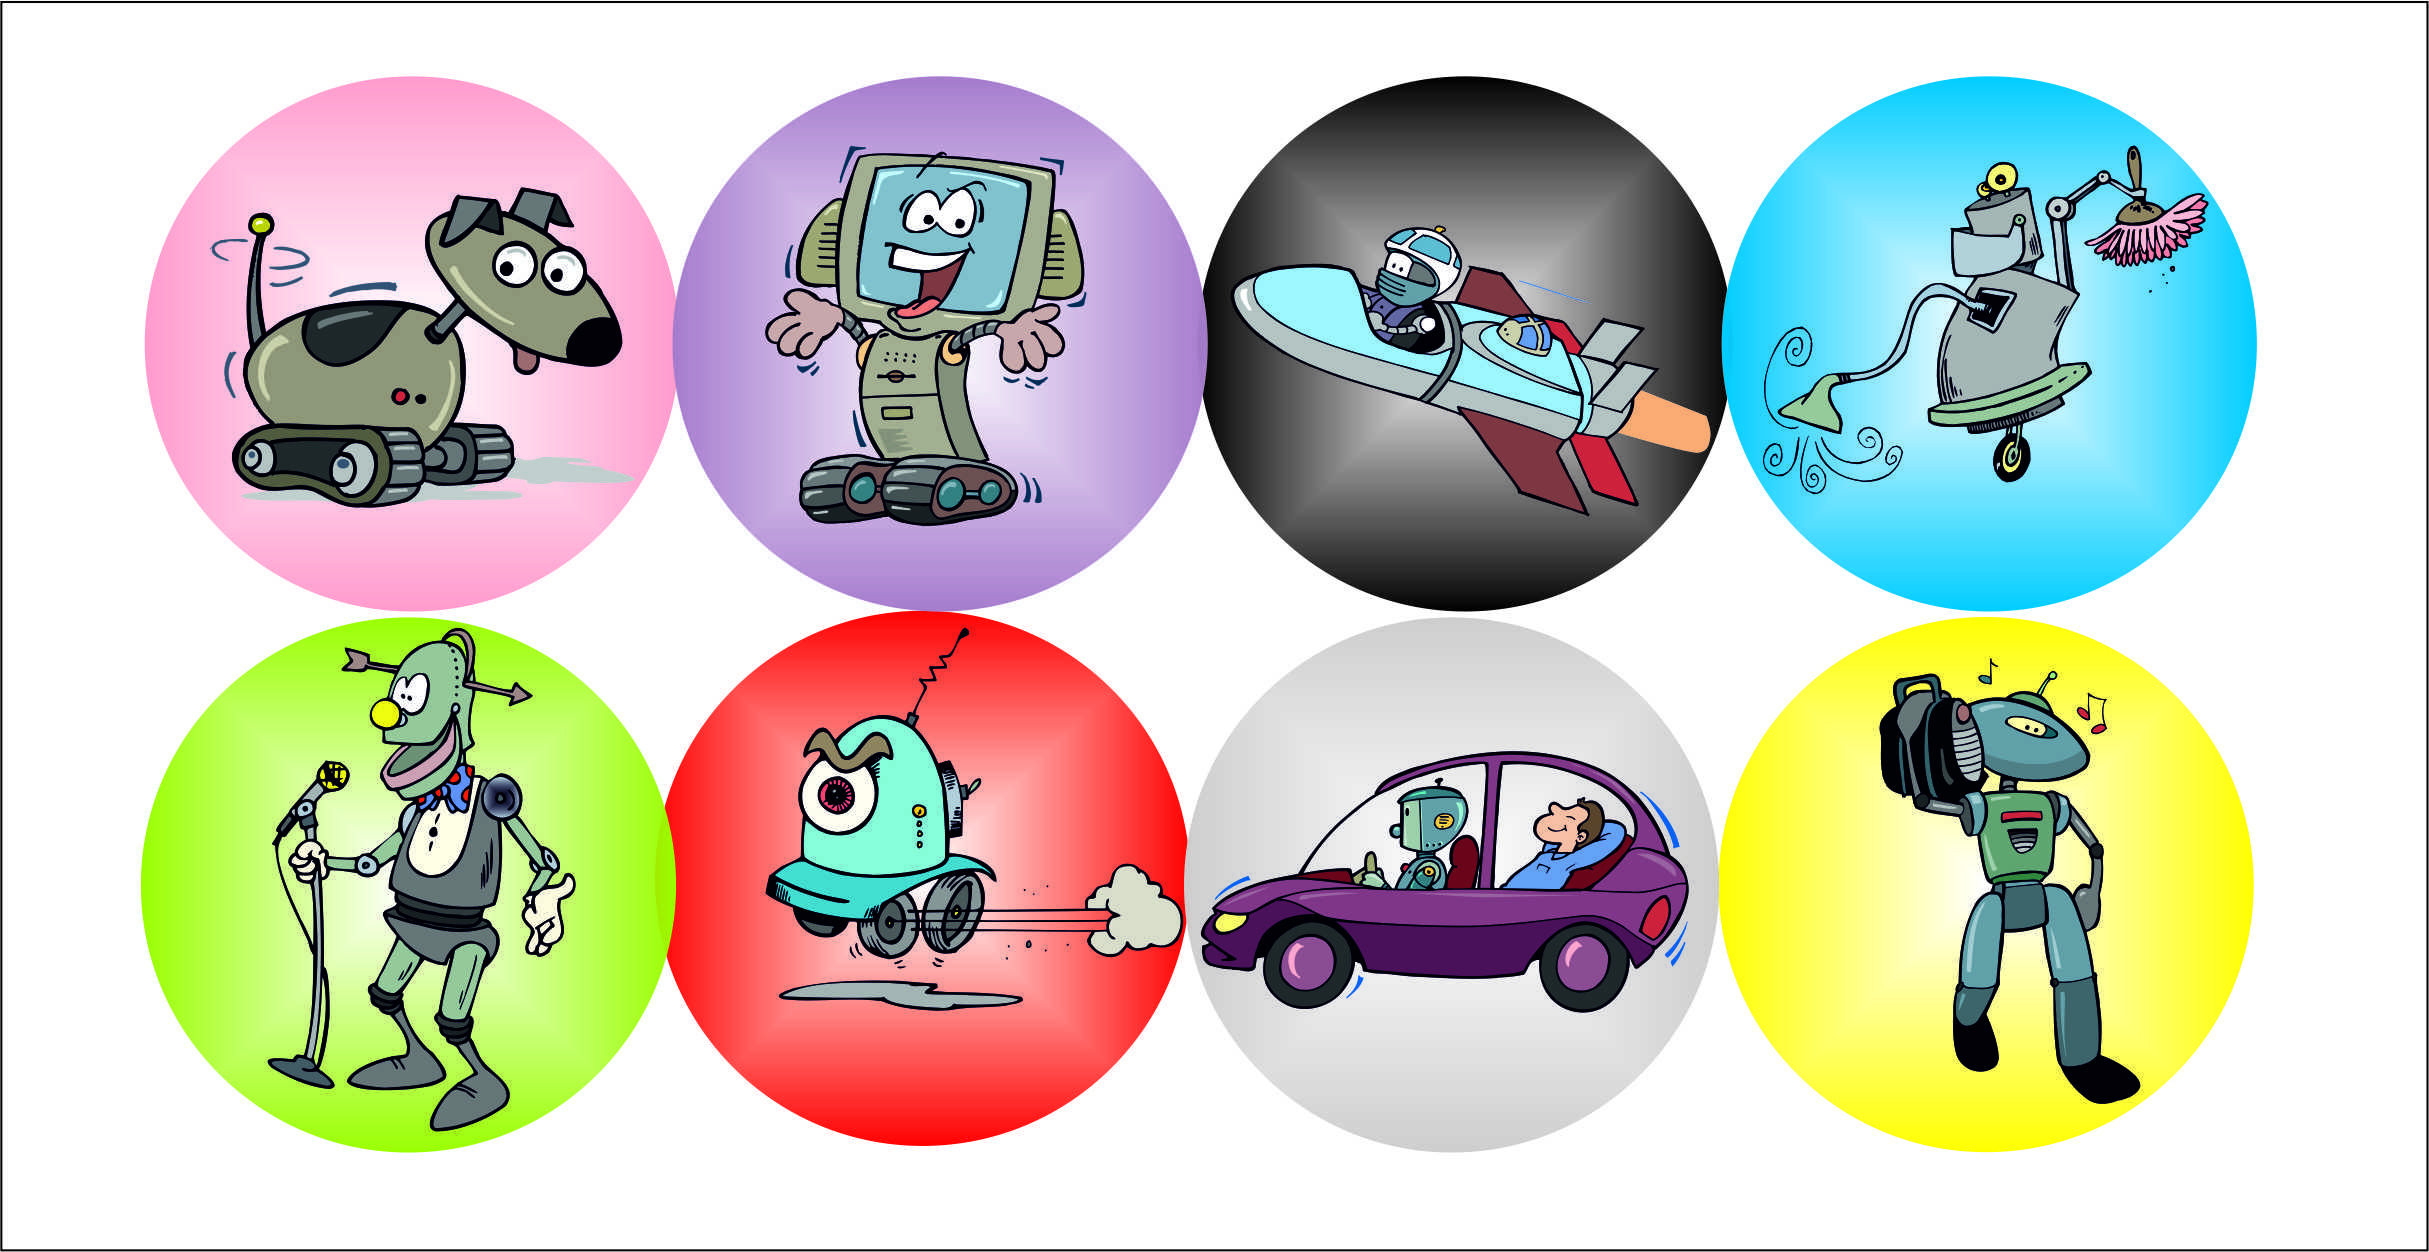
- First they just listen, point and shout out the correct colour (the colour of the bubble the robot is in):
– Find a robot that is listening to music.
– Find a robot that has a TV instead of his head.
– Find a robot that is dusting and hoovering his robot-home.
– Find a fast robot.
– Find a robot that is an animal. What animal is it?
- Then they should try to answer various questions asked by the teacher:
– Look at the red bubble. What is the robot doing? What is it like? What does it look like? Is it small / big / fast / slow / funny? How many eyes has it got? How many wheels?
– Look at the grey bubble. What is the robots doing? What is the man doing? It is nice to have such robot? Would you like to have a robot? What colour is the car?
- If you feel that the questions are not too difficult for your students (after you practise them a few times they should not be) try to encourage kids to have such exchanges in pairs. You may expect a simple chat at first:
– Pink circle!
– A robot dog! Hi hi hi hi.
But if you monitor and support your pupils, and scaffold them appropriately, more complex exchanges will come soon.
HOMEWORK – WHY NOT?
My golden rule in the YL classroom is that when a kind of manual activity takes more than two minutes and we will not be “using” it later on, it should be dropped. And if it takes more than two minutes, but we will make use of it later on, it should be handed in as homework.
To give a simple example, I like playing THE SHOP GAME with my students. The simple procedure is as follows:

But sometimes I like to ‘upgrade’ the game and organize A SUPERMARKET:
- Students have their baskets, walk around and pick cut-outs scattered around the classroom.
- They put them in their baskets when I give them an appropriate clue, e.g. “Find two red apples! Pick them up! Put them in your basket! Go to the shop assistant and pay.”
How great it would be to have a basket for each of them! It is not difficult to make one but if you have ten or more students and are supposed to help most of them with cutting and gluing, this basket-making will take all your in-class time on that day!
I usually give a template to each student at the end of a lesson and ask their parents to prepare a basket at home, to be brought and used during our next meeting:
At home students can simply cut it out and glue it together, but they can also colour it if they want to. They can even stick some ornaments or stickers. Usually girls like to personalize their baskets whereas some boys do not pay much attention to how their baskets look like, as long as they work out well.
To sum, up, I firmly believe that we should be extra careful with how we select colouring pages and other kinds of pen-to-paper exercises in our YL classroom and always ask ourselves a simple question: how much English is there? I believe that when we minimize the making and maximize the talking around it we will get desired results. I hope that the examples shown above will inspire you to make a great “spoken” use of any colouring page or worksheet that you come across while teaching your young learners.
The author of this post is Ola Komada – methodical director of Edu Bears, co-author of the Teddy Eddie method. A teacher by heart, well-experienced in work with young learners. Find out more on the method and how to adopt it to your language school by visiting local websites teddyeddie.cz and teddyeddie.sk!